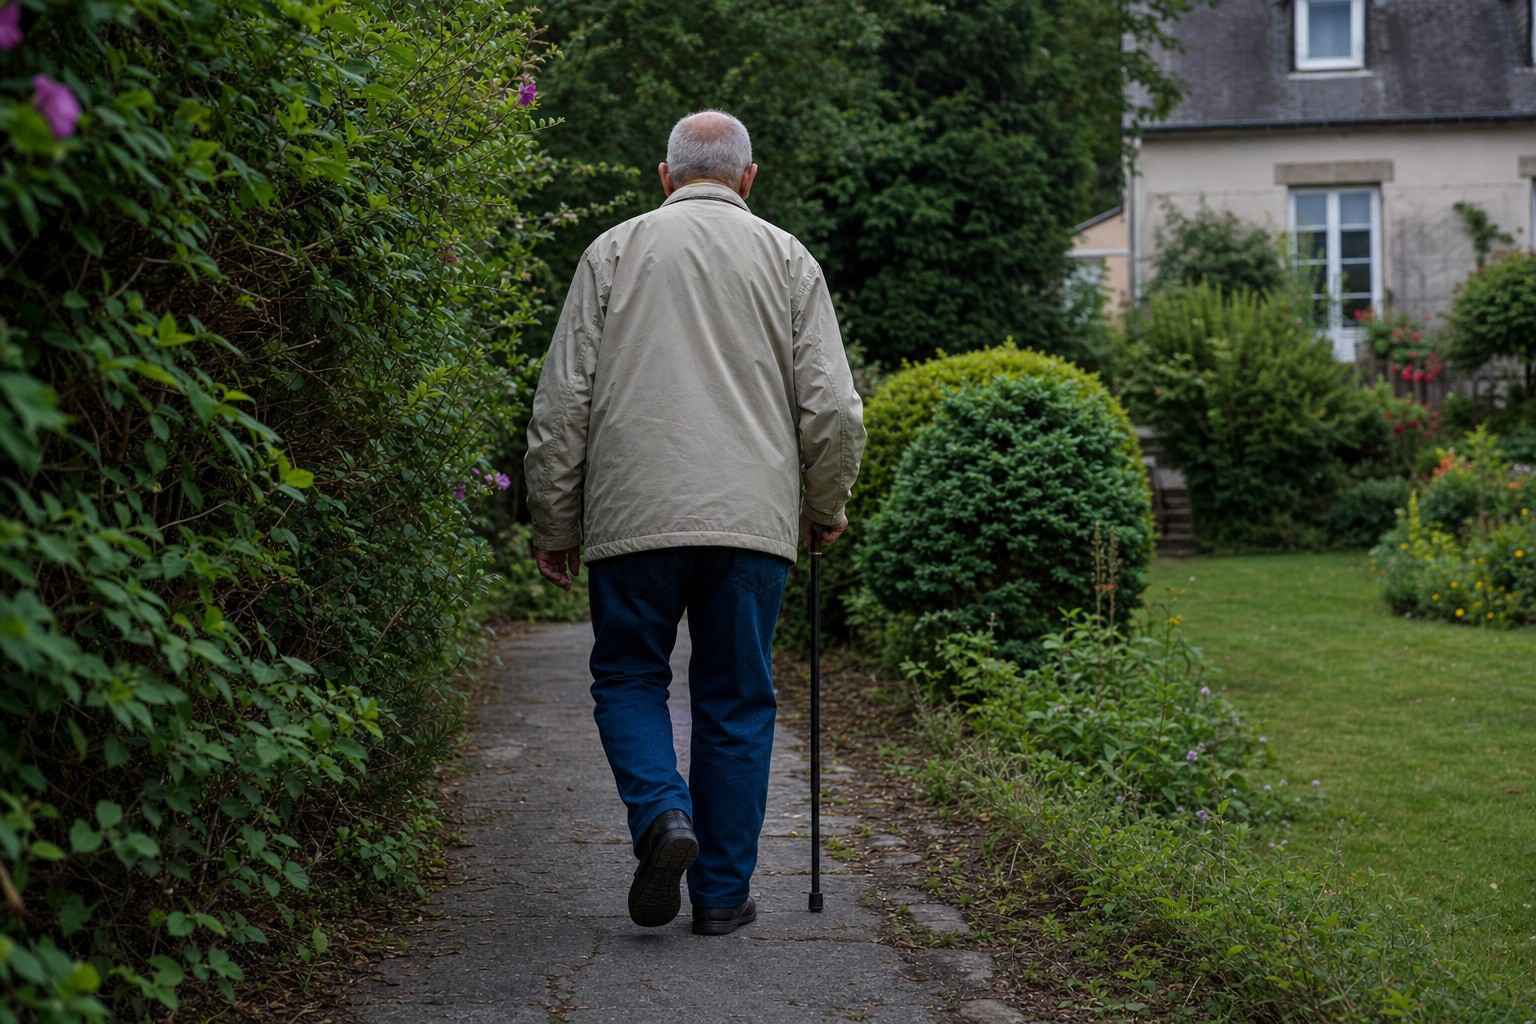
If you have ever been told to “just be careful” as you get older, you have had the least useful fall advice there is. Caution alone does not keep you on your feet.
What keeps you on your feet, according to a large and consistent body of research, is the right kind of exercise.
This is one of the few areas of health where the evidence is genuinely clear. So it is worth knowing what it actually says, rather than guessing.
How common are falls, really?
Falls are the most common cause of injury in later life, by a wide margin. The World Health Organization reports that adults over 60 suffer the greatest number of serious falls worldwide, and that tens of millions of people need medical attention for a fall every year.
Closer to home, studies consistently put the figure at around one in three people over 65 having a fall each year, and it climbs higher with age.
Those numbers are not here to frighten you. They are the reason this is worth taking seriously, and the reason researchers have spent decades working out what actually helps.
What the research keeps finding
When scientists pool the results of many separate trials, one result comes up again and again: exercise reduces falls in older people.
It is one of the best-supported conclusions in the whole field.
Cochrane, the group that reviews medical evidence for a living, has examined dozens of exercise trials involving thousands of older adults. The verdict is consistent: the right exercise meaningfully lowers how often people fall.
This is not a wellness trend. It is a measured result, repeated many times over.
Not all exercise is equal
Here is the part most advice skips. It is not exercise in general that prevents falls. It is specific kinds.
The programmes that work best in the research share two features:
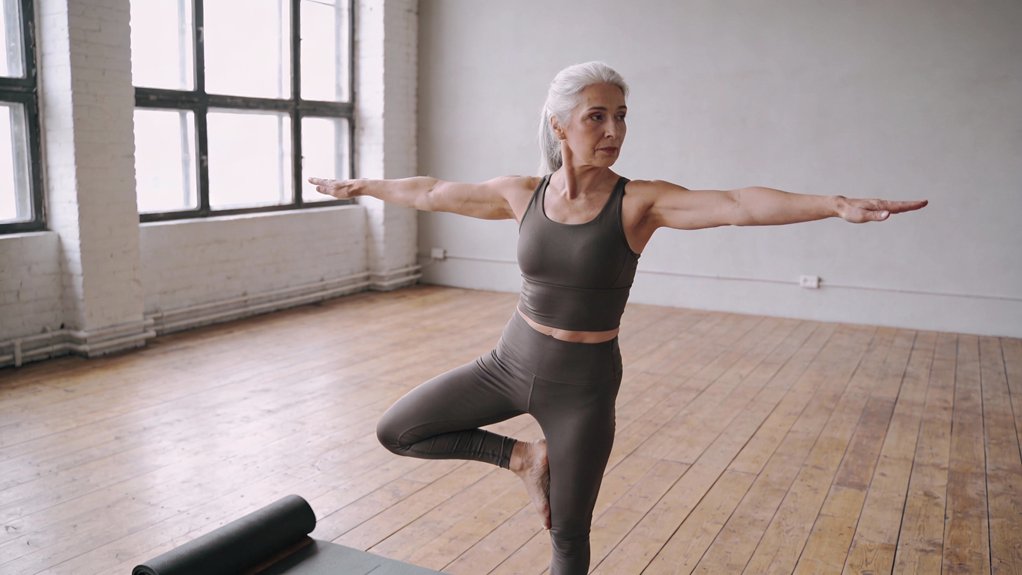
- They challenge your balance, moving you in ways that make you a little unsteady, safely, so your body relearns how to correct itself
- They build lower-body strength, the legs and hips that catch you when you stumble and push you up out of a chair
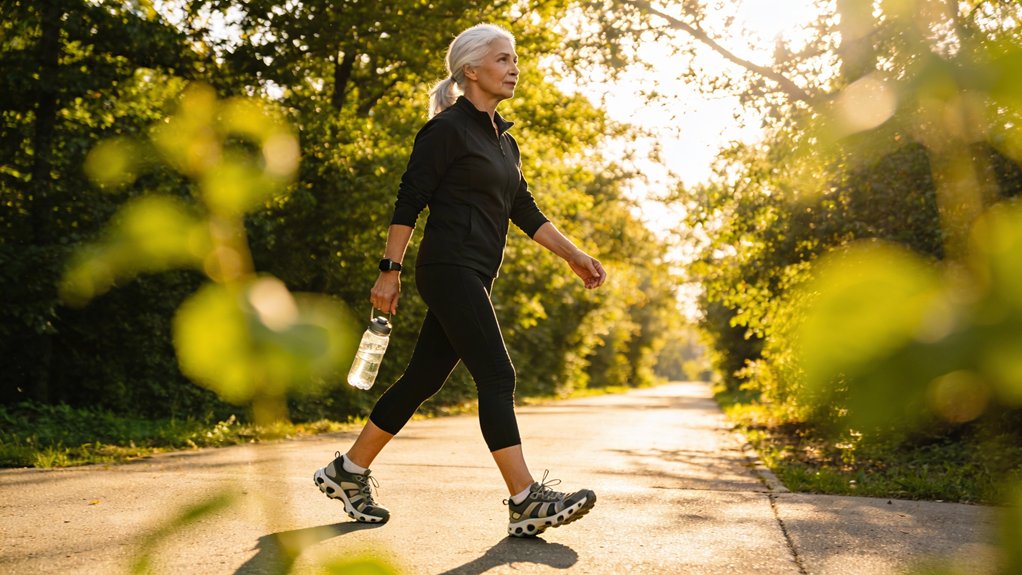
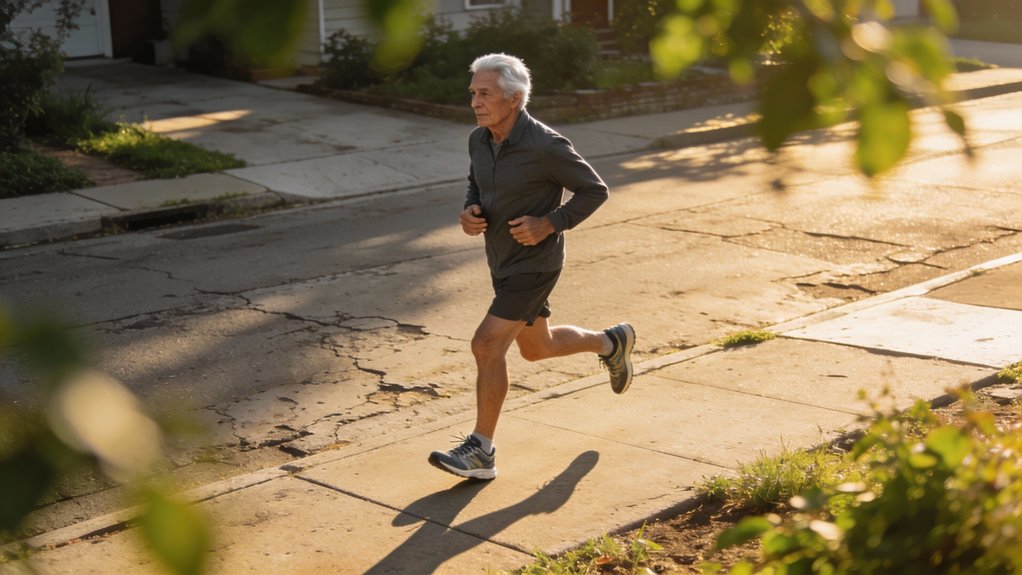
Gentle walking is wonderful for many things, but on its own it does surprisingly little to prevent falls. Balance and strength are the active ingredients.
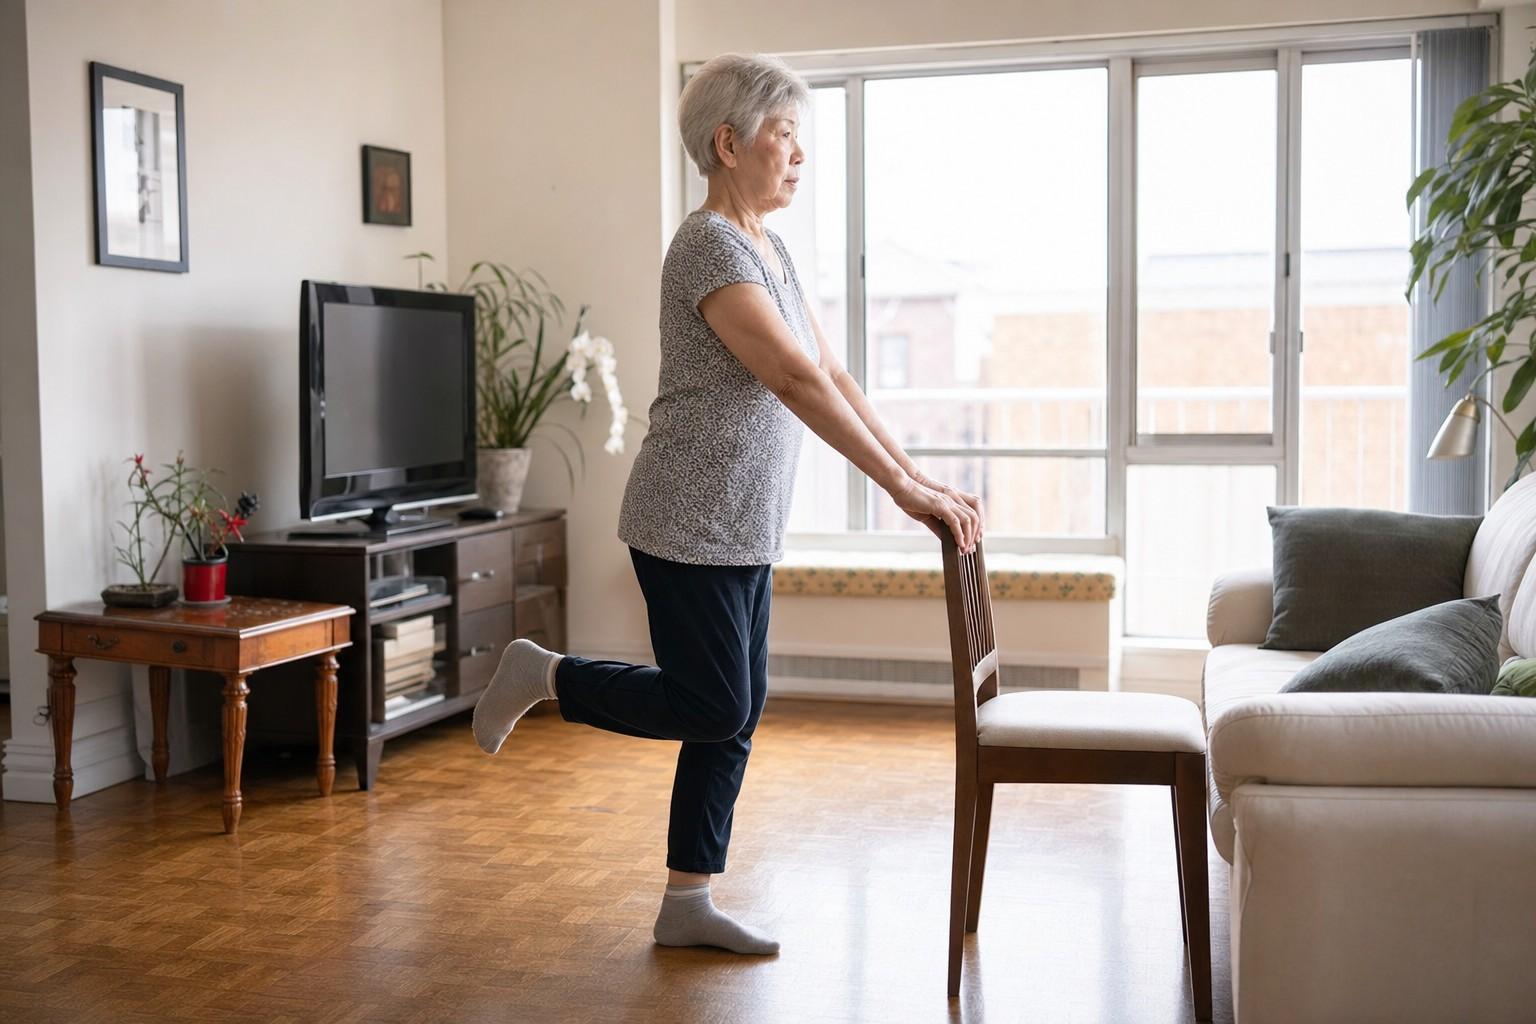
That is why the most effective home routines look less like a stroll and more like standing on one leg while you hold the kitchen worktop, or rising from a chair without using your hands.
How much, and how often?
The research is just as clear about dose. It has to be regular, and it has to continue.
A short burst of effort followed by months off does very little.
The NHS sets out a simple target for older adults: some activity every day, at least 150 minutes of moderate activity across the week, and, above all, exercises that improve strength, balance and flexibility on at least two days a week.
That two-days-a-week strength and balance part is the bit that protects you from falls. It is also the bit most people quietly skip.
What this looks like at home
You do not need a gym or any equipment. The building blocks are simple, and you can start today:
- Begin with simple chair exercises for a safe, seated way in
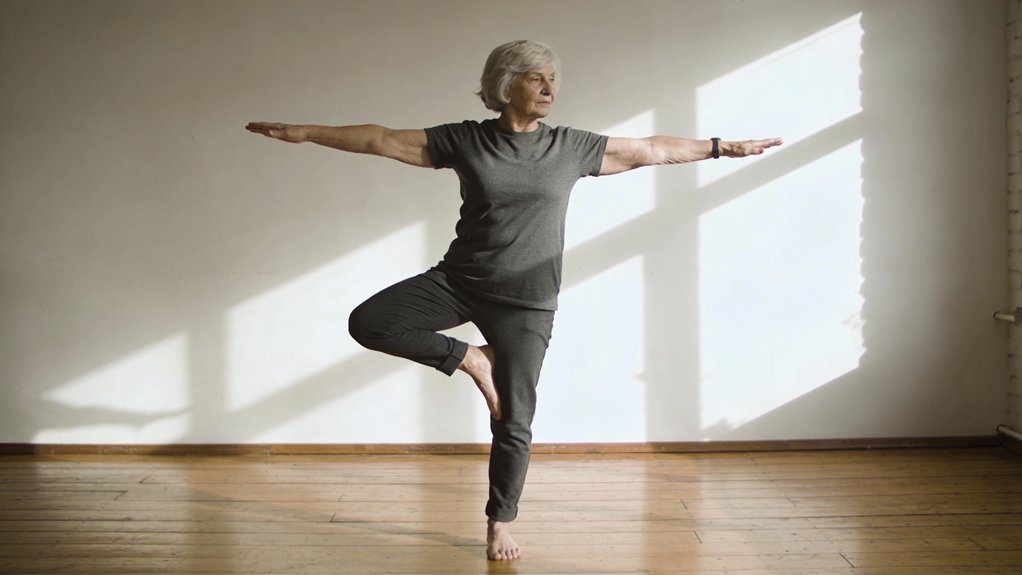
- Practise balance work next to a steady surface
- Add strength moves like sit-to-stands and heel raises as you grow more confident
Walking still earns its place on top of all that for general fitness. And the home itself matters too: the guide to preventing falls at home covers the practical changes that work alongside exercise.
Start with two short sessions a week. Hold something solid. Progress slowly. Consistency beats intensity every time here.
When to ask for a professional assessment
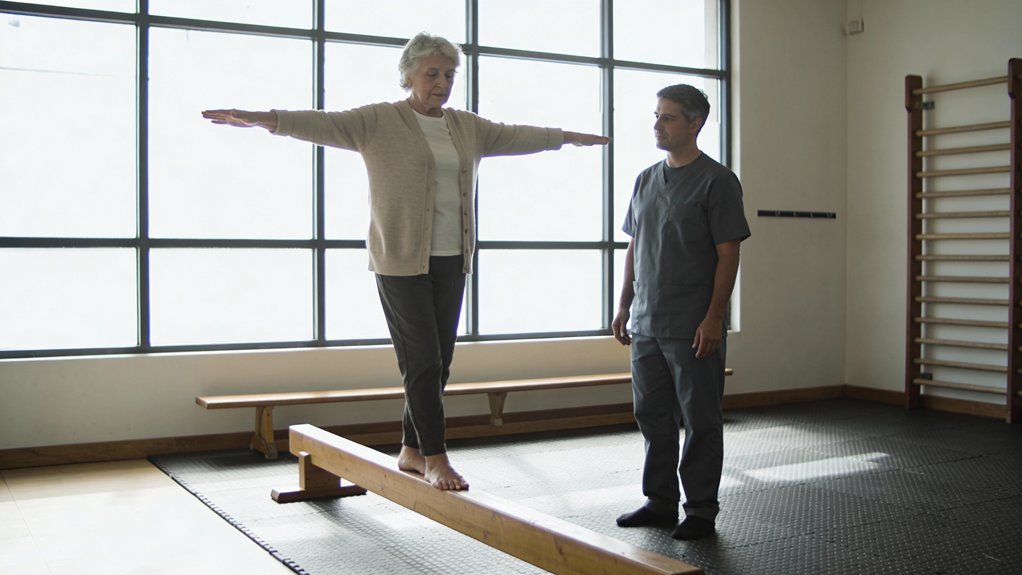
If you have already had a fall, feel unsteady on your feet, or take several different medicines, it is worth asking your GP for a falls assessment.
They can check your blood pressure, review your medicines and your eyesight, and refer you to a physiotherapist for a tailored strength and balance programme.
That supervised approach is the one shown to work best for people at higher risk.
Asking for this is not a sign of decline. It is exactly what the guidelines recommend.
Falls are common, but the evidence is genuinely on your side. The single most effective thing you can do is also the most ordinary: challenge your balance and build your strength, a little and often, and keep at it.
This article is general information, not medical advice. Before starting a new exercise programme, especially if you have had a fall or have a health condition, check with your GP or a physiotherapist.